
The first step in using the Zentools2 module is to select the layout you want to use for your module.
The module workflow is to designed with a logical workflow that helps you to quickly and easily create the layout you desire. In this tutorial we are going to create a simple 3 column grid layout with the item title and item image.
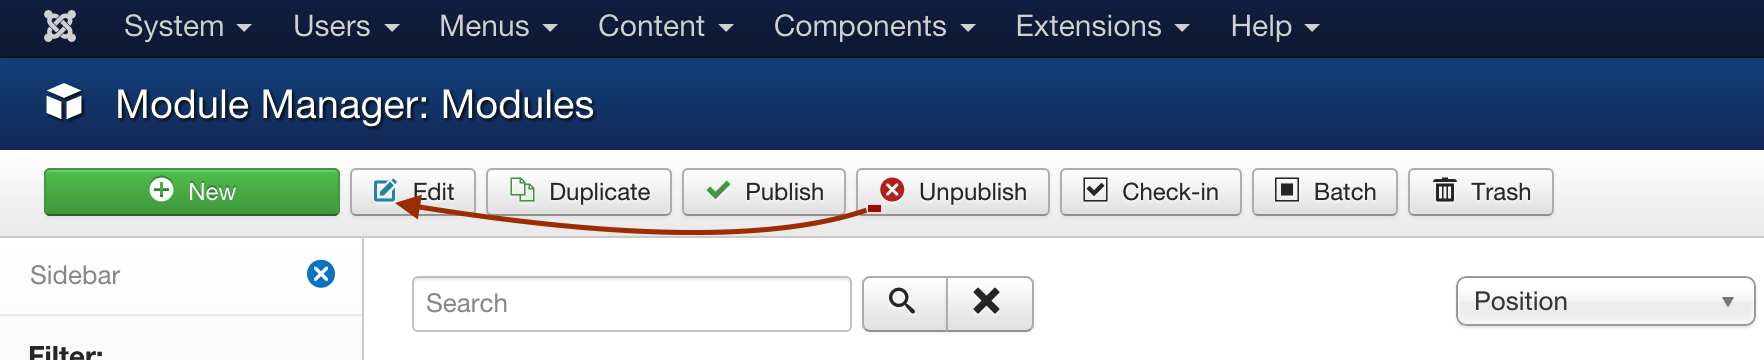
1. Create a new instance of the Zentools2 module.
Go to the module manager in the site's administrator area and click new.
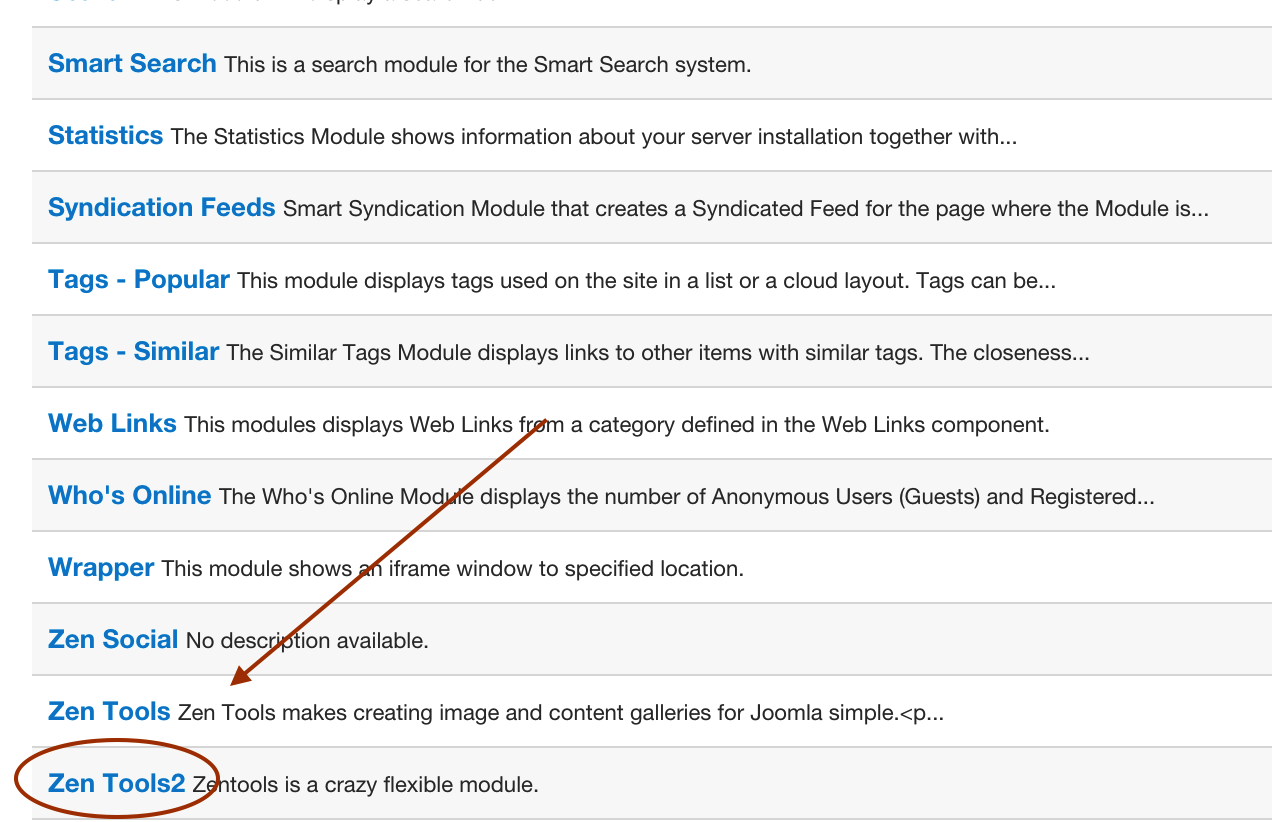
2. Scroll down the list and select the Zentools2 module as the type of module you want to create.
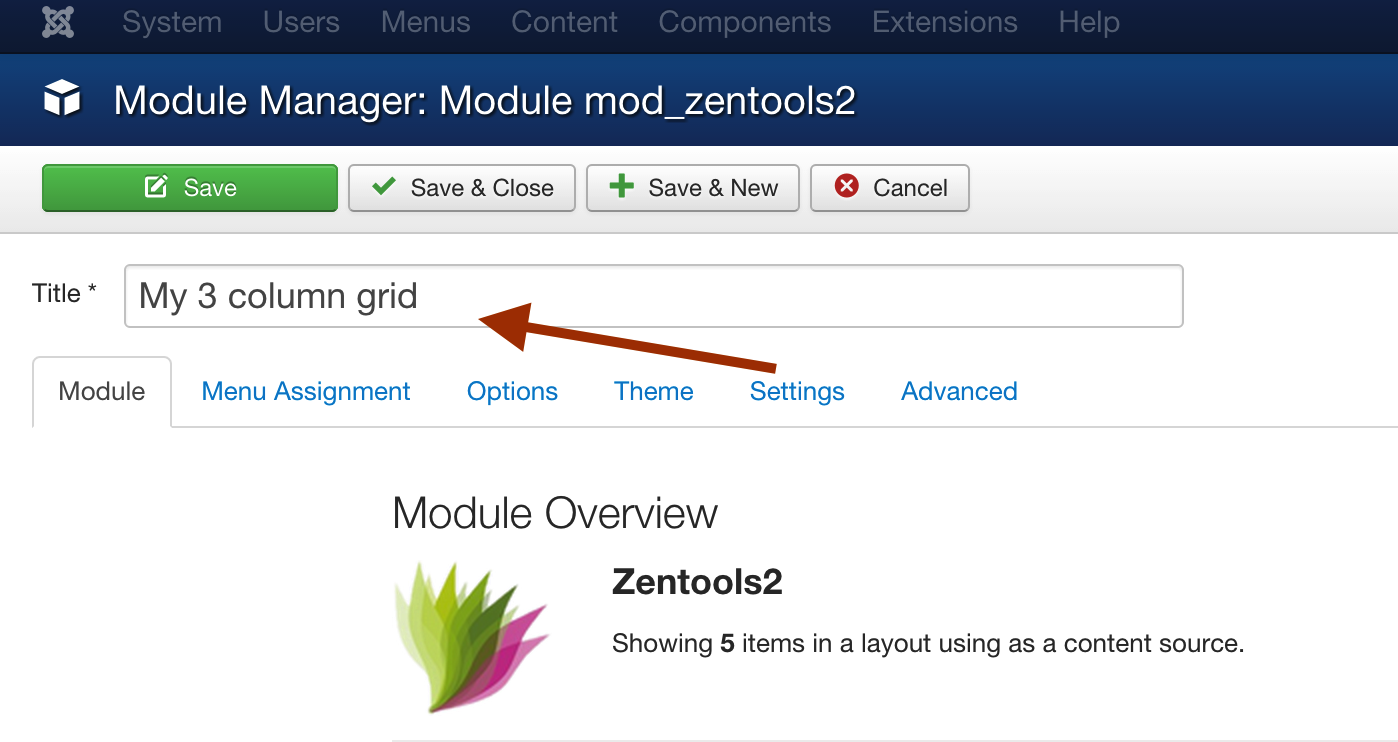
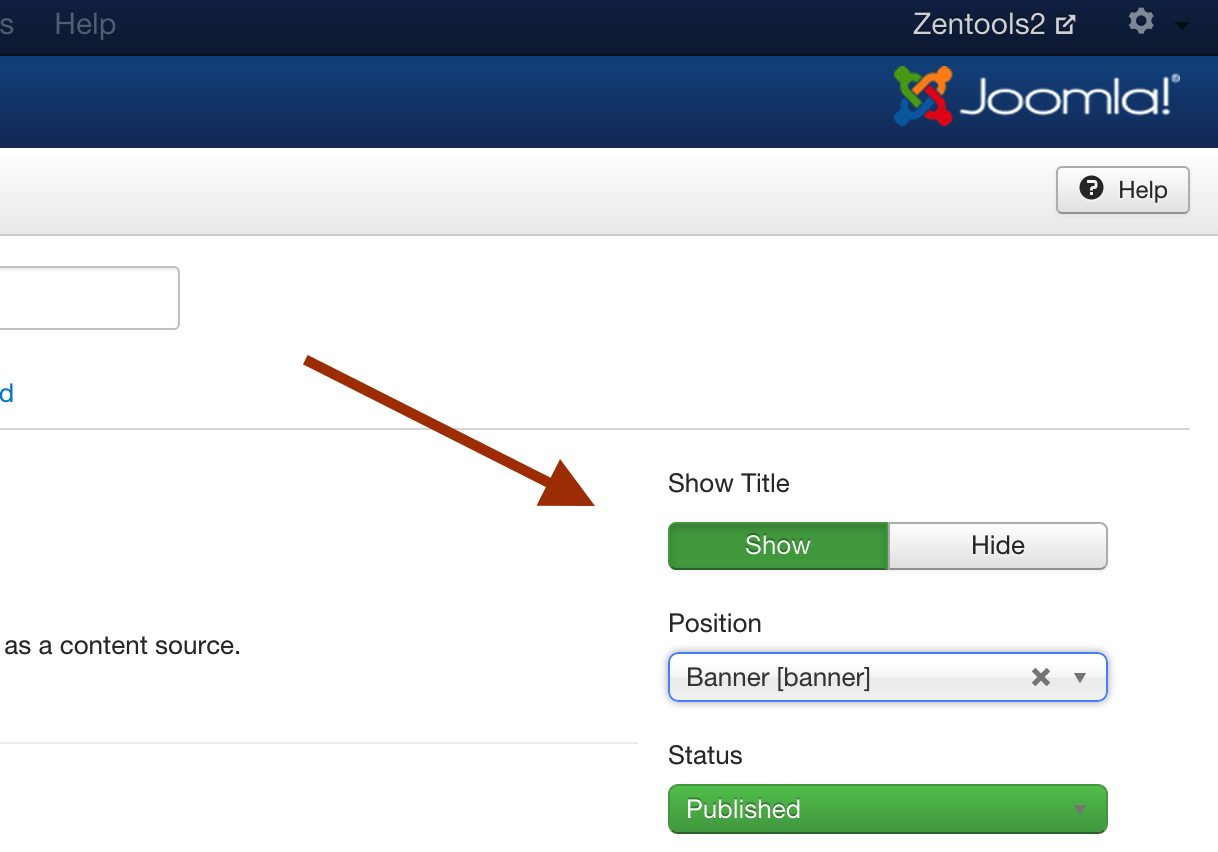
3. Type in the name of the module and the position you are going to display the module in.
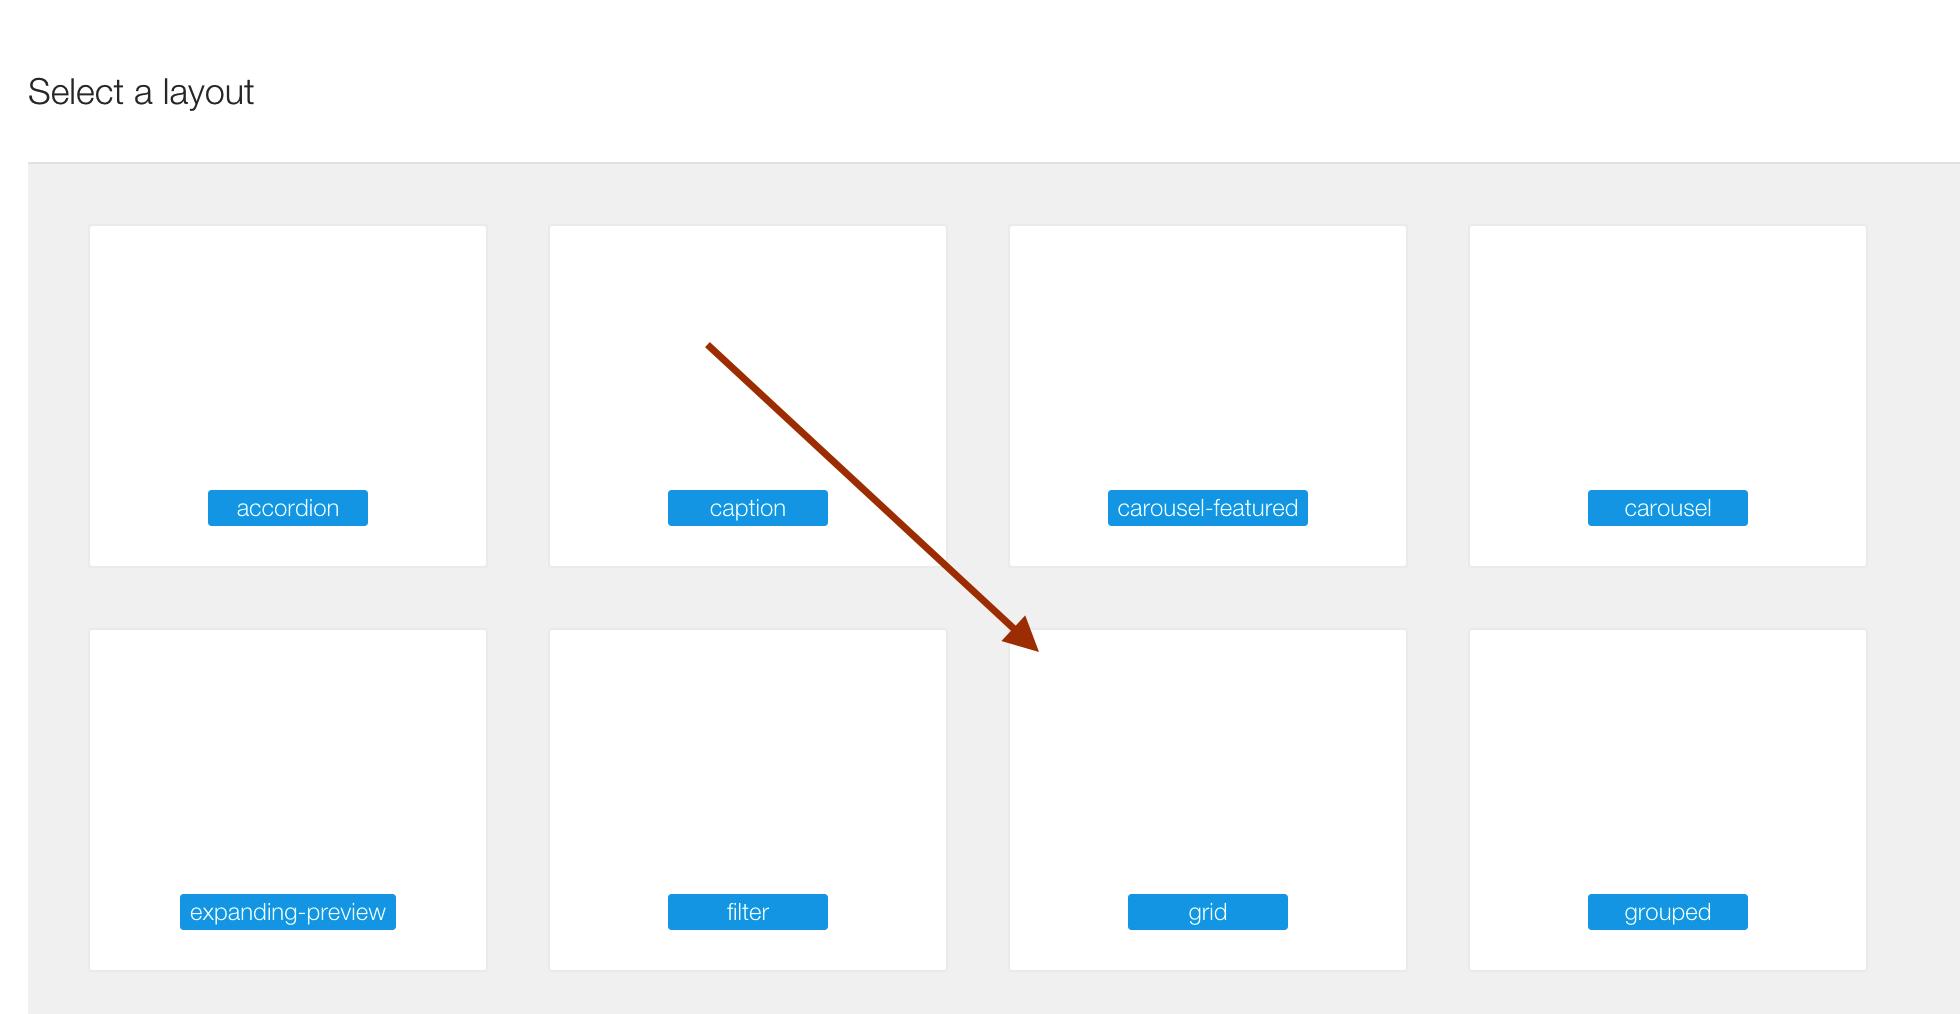
4. Click on the options tab. This will highlight the various layotu options available. Select grid.
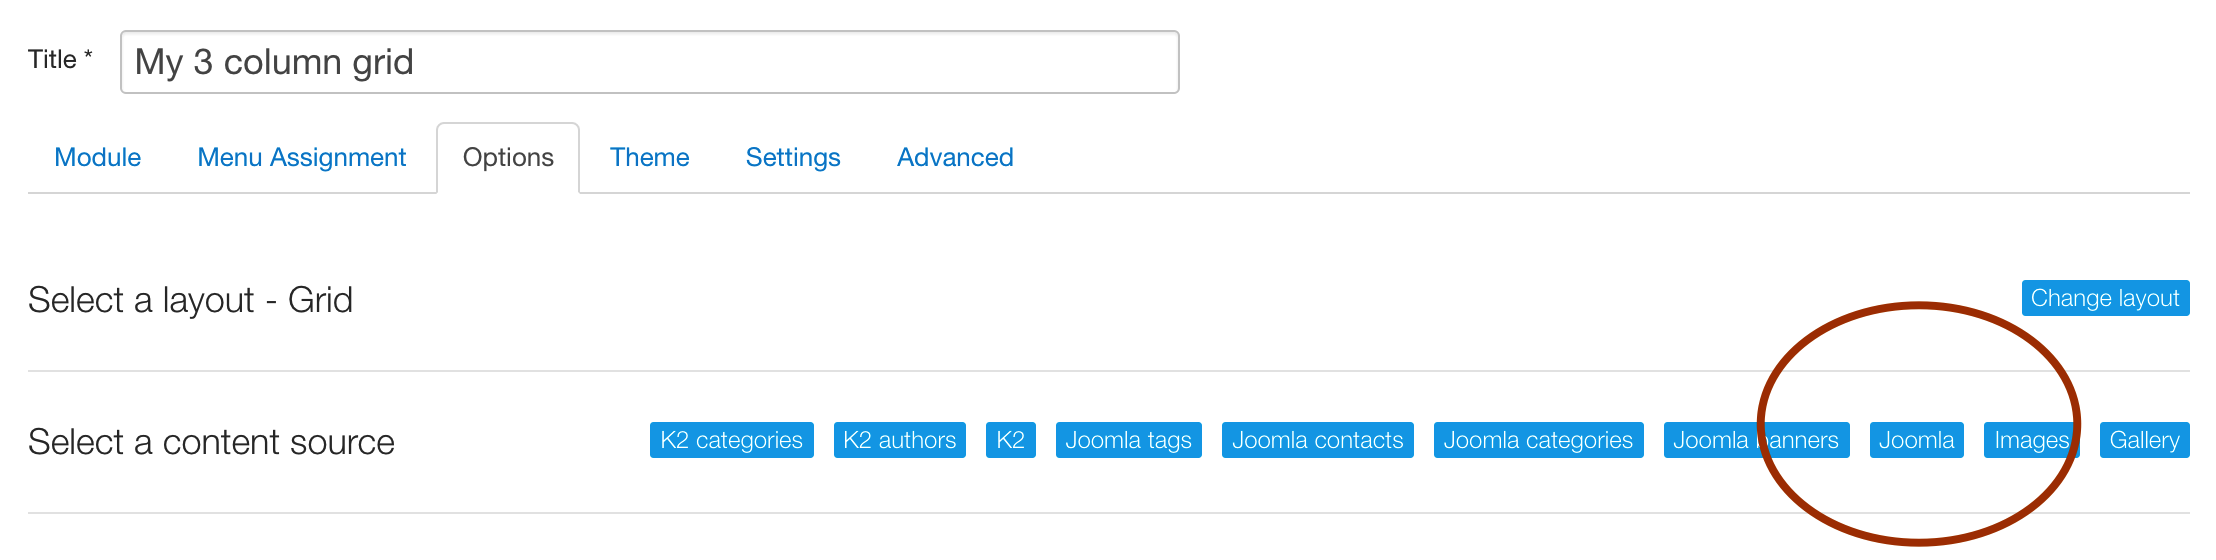
5. Once clicked the layout accordion will collapse and the content source of the moduel will be displayed. In this instance we will select Joomla as the content source.
6. Once the content source is selected the item layout tool will appear.
This is where you determine the content elements to be used in your module. The list of items on the left are tags that relate specifically to your content source. Not all tags are available for all content sources and so the content of the items in the left column will depend on the content source you have selected. When the content source is changed this list will automatically update with a new selection of items to choose from.
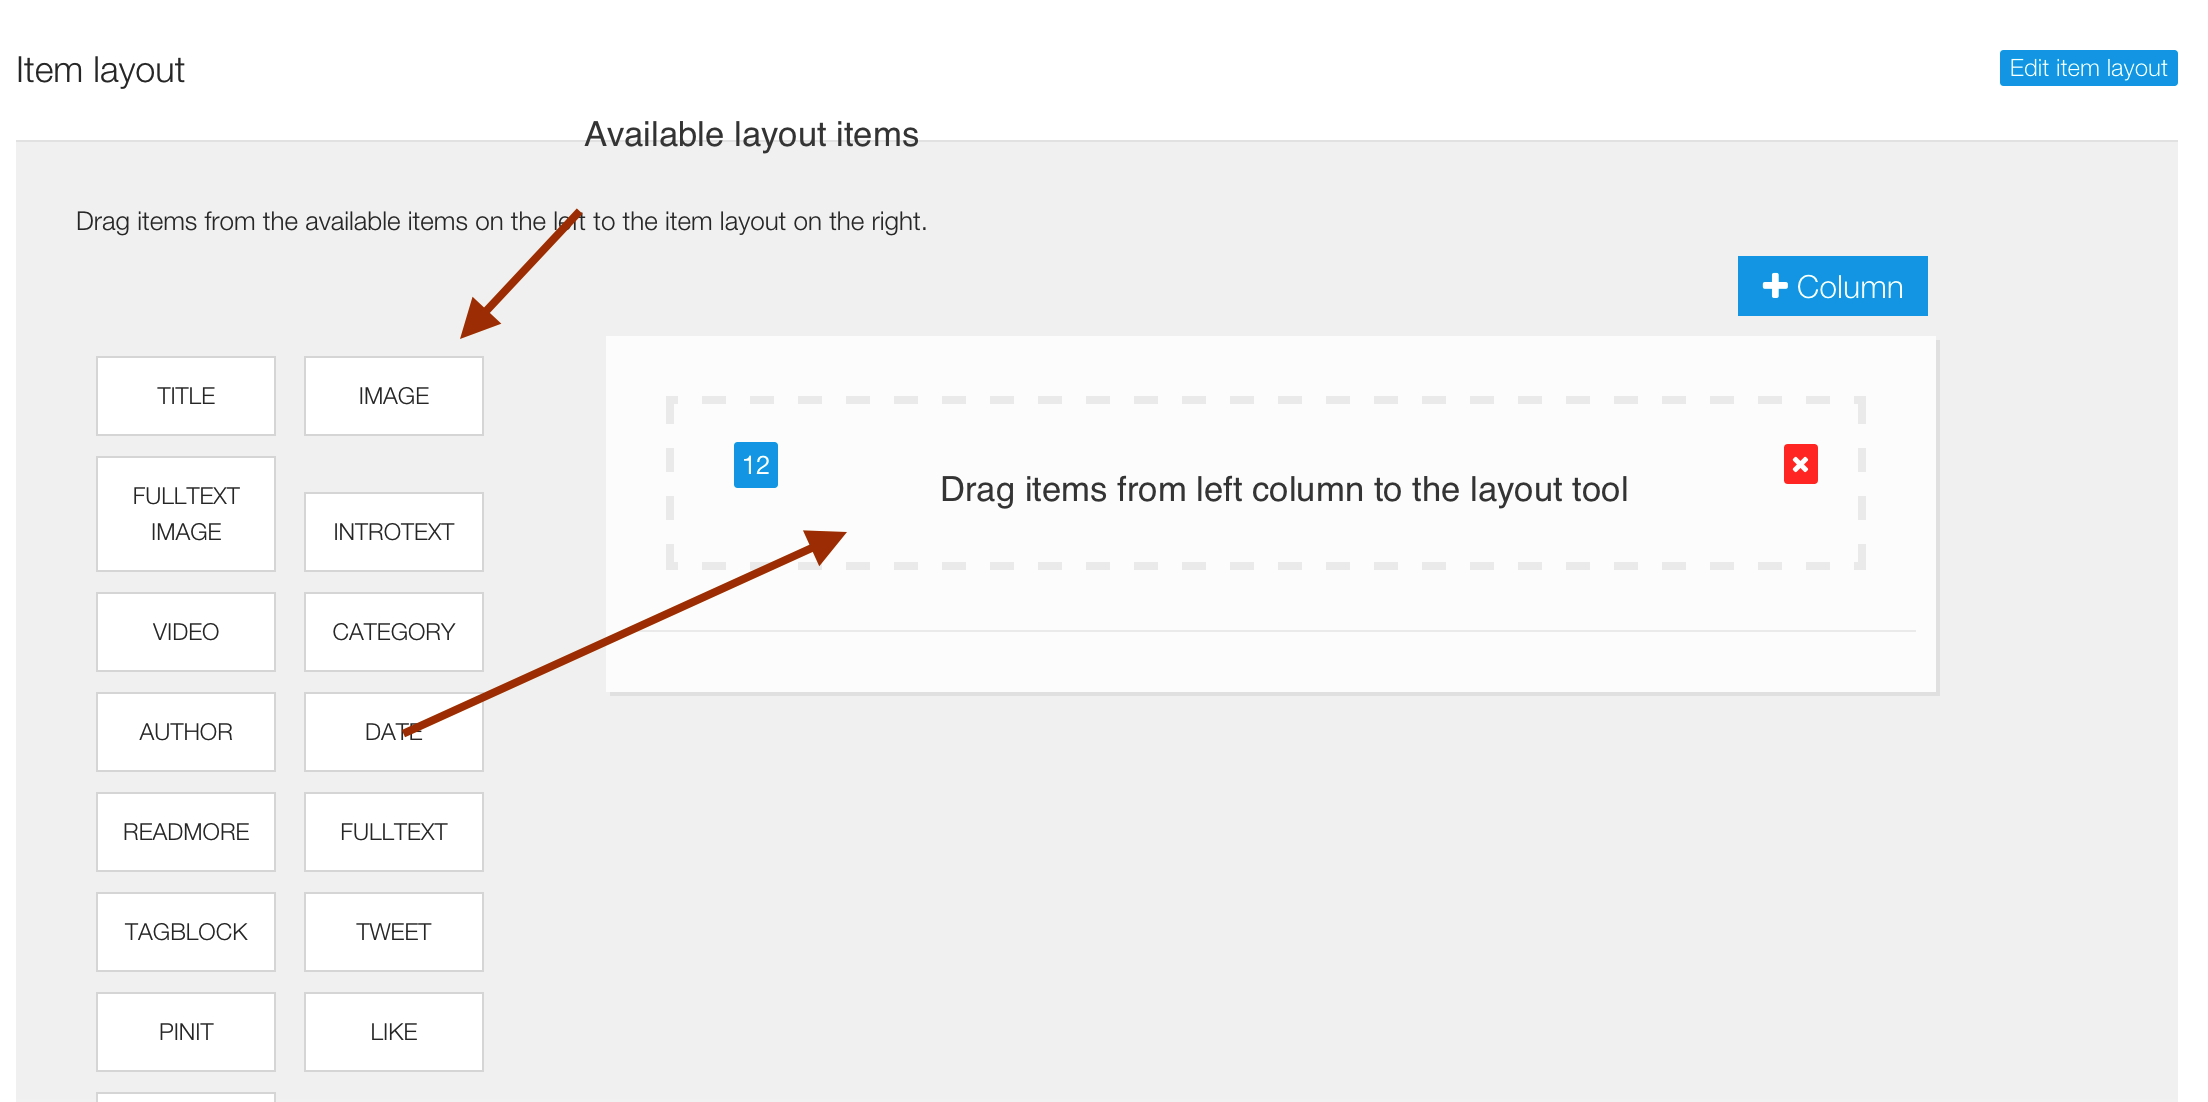
7. The next step is to create the layout for your module.
Items can be easily dragged and dropped into the layout tool. Simply click on an item in the left column and while holding your mouse button or trackpad button down move the cursor to the item layout. Once the tag is in position you can drop the item in the layout tool by letting go of the mouse button.
A yellow placeholder appears in the layout tool when an item can be dropped into the layout.
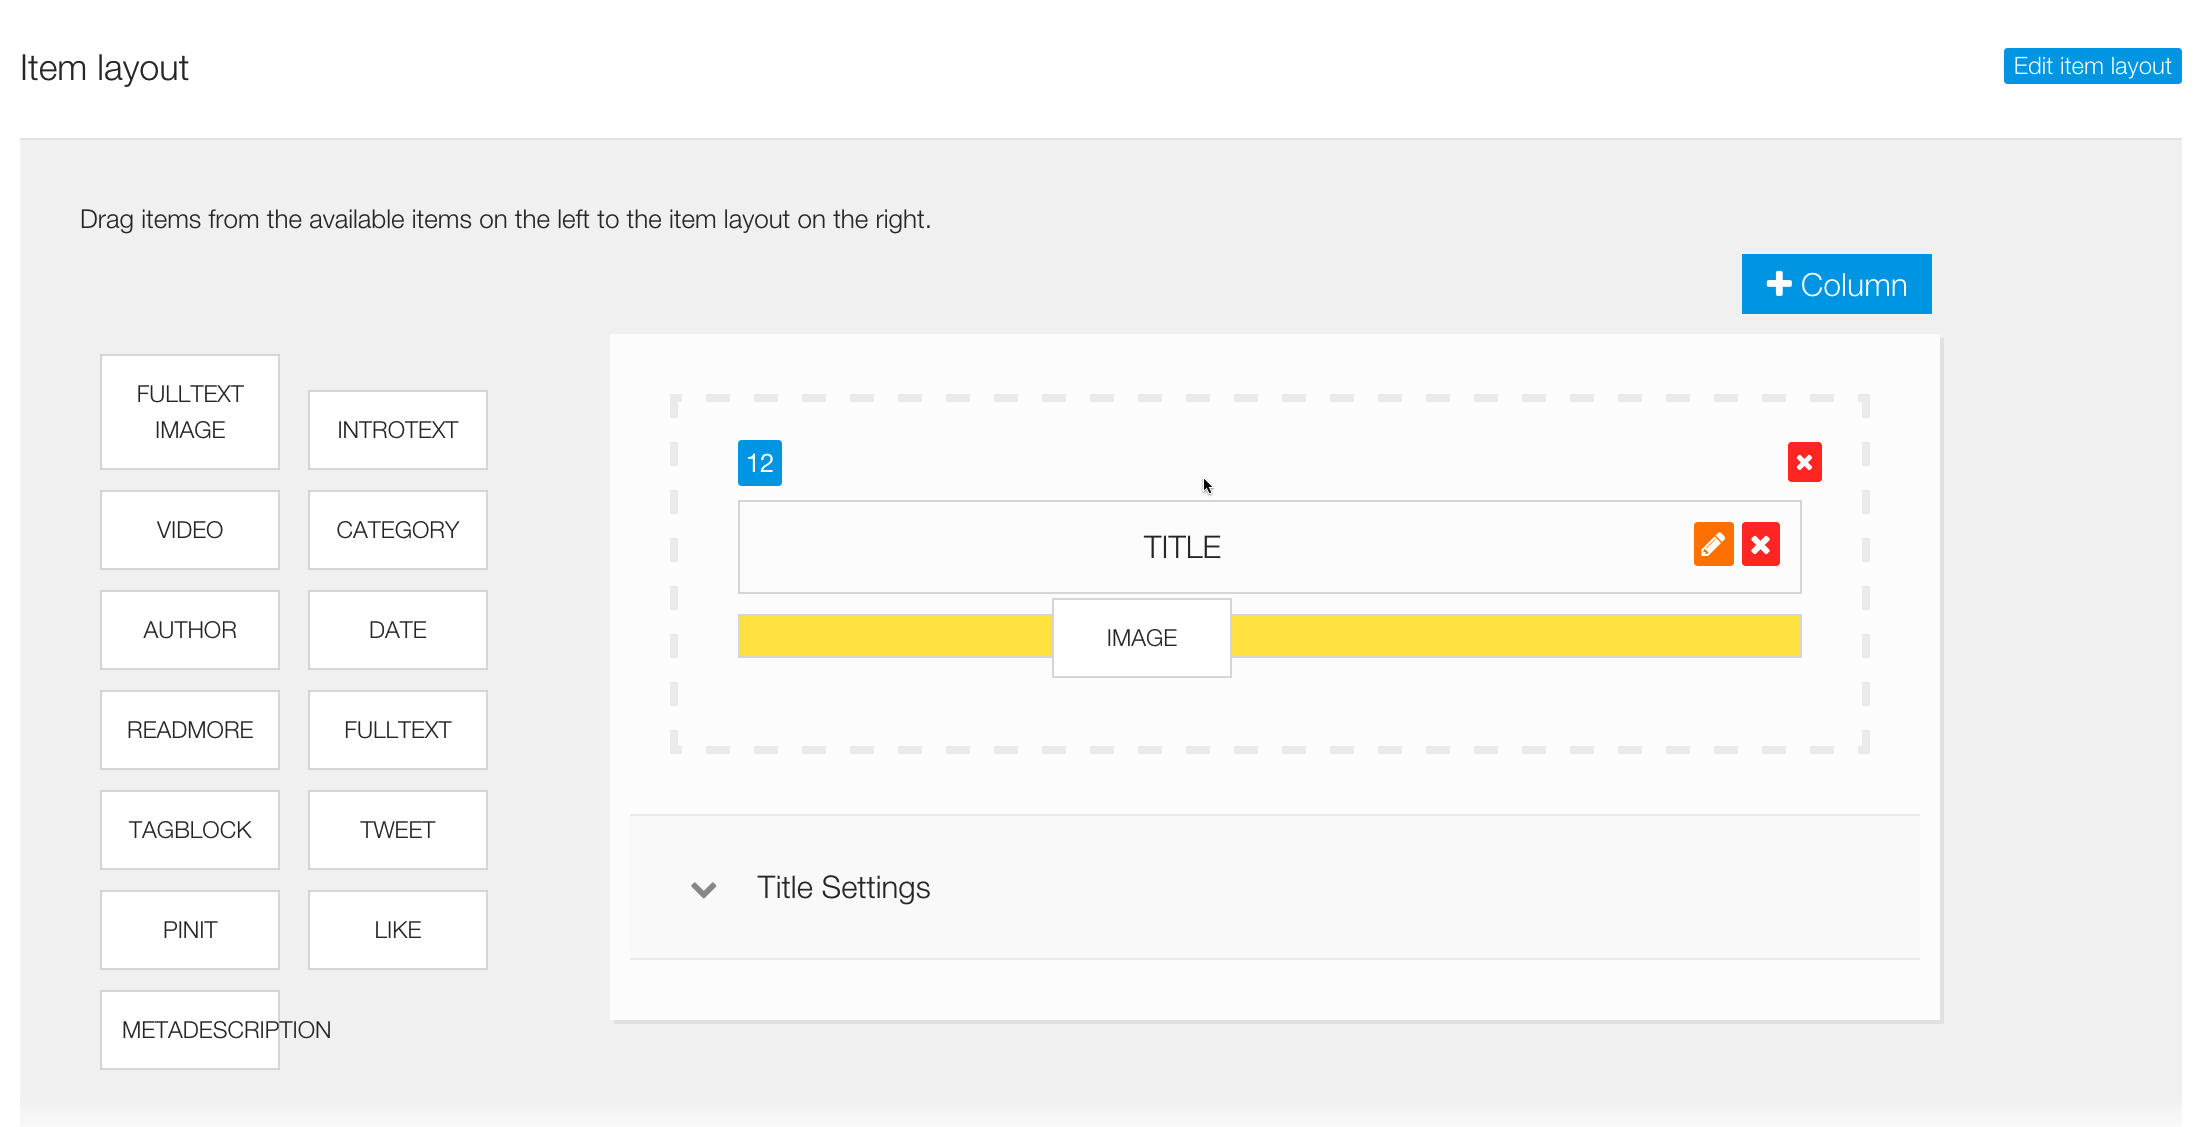
8. As each layout element is added to the layout tool the settings for that specific element appear under the layout tool.
To open the panel that relates to the layout element click on the pencil next to the item in the layout tool or click on the title of the item underneath the layout tool.
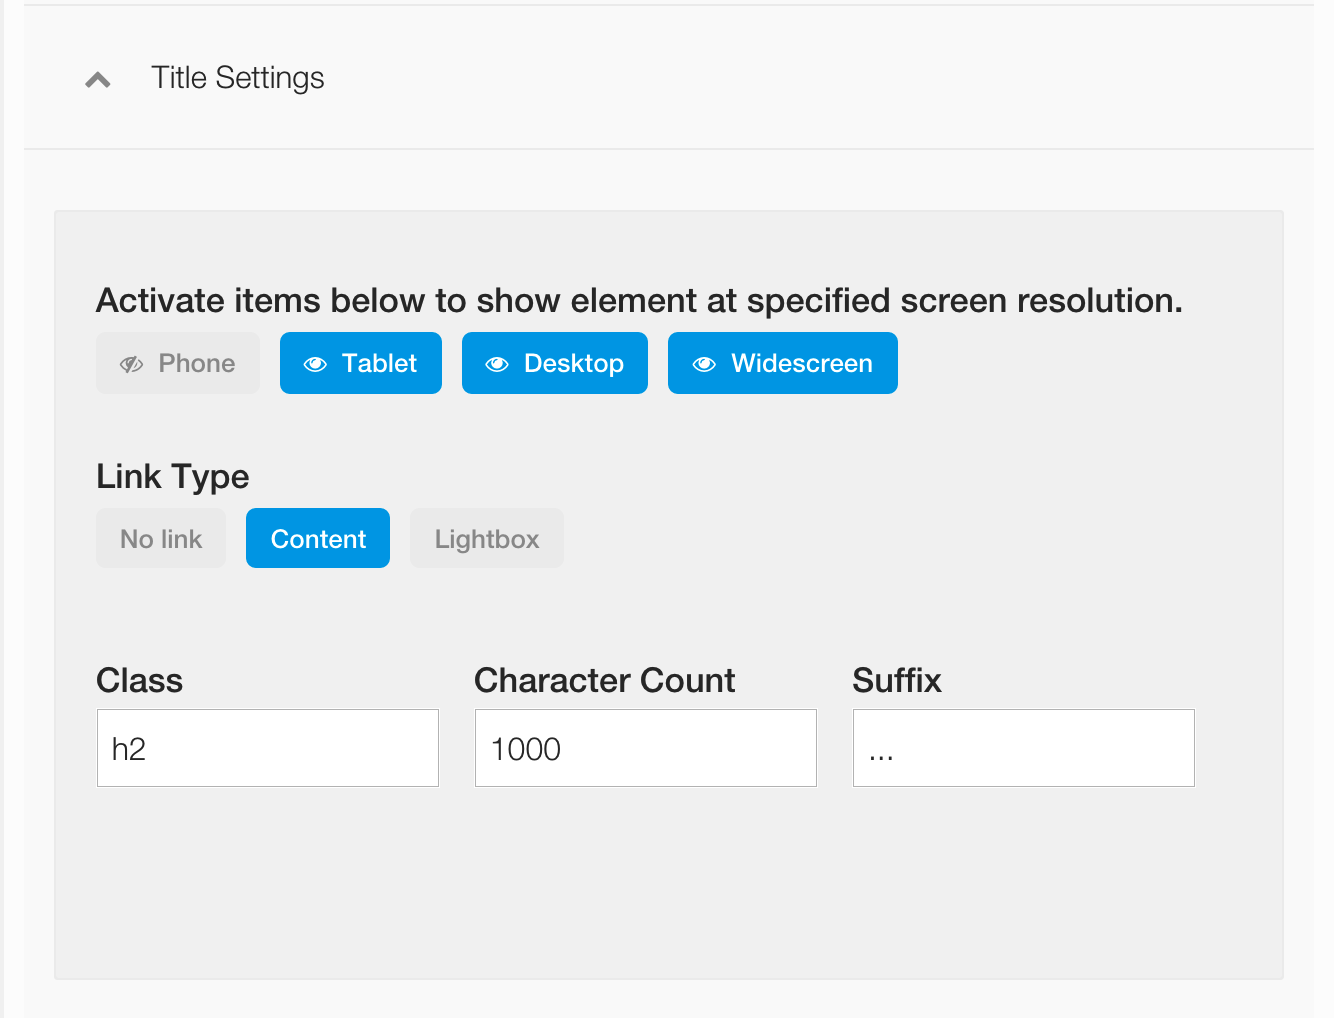
9. Adjust settings for the title element.
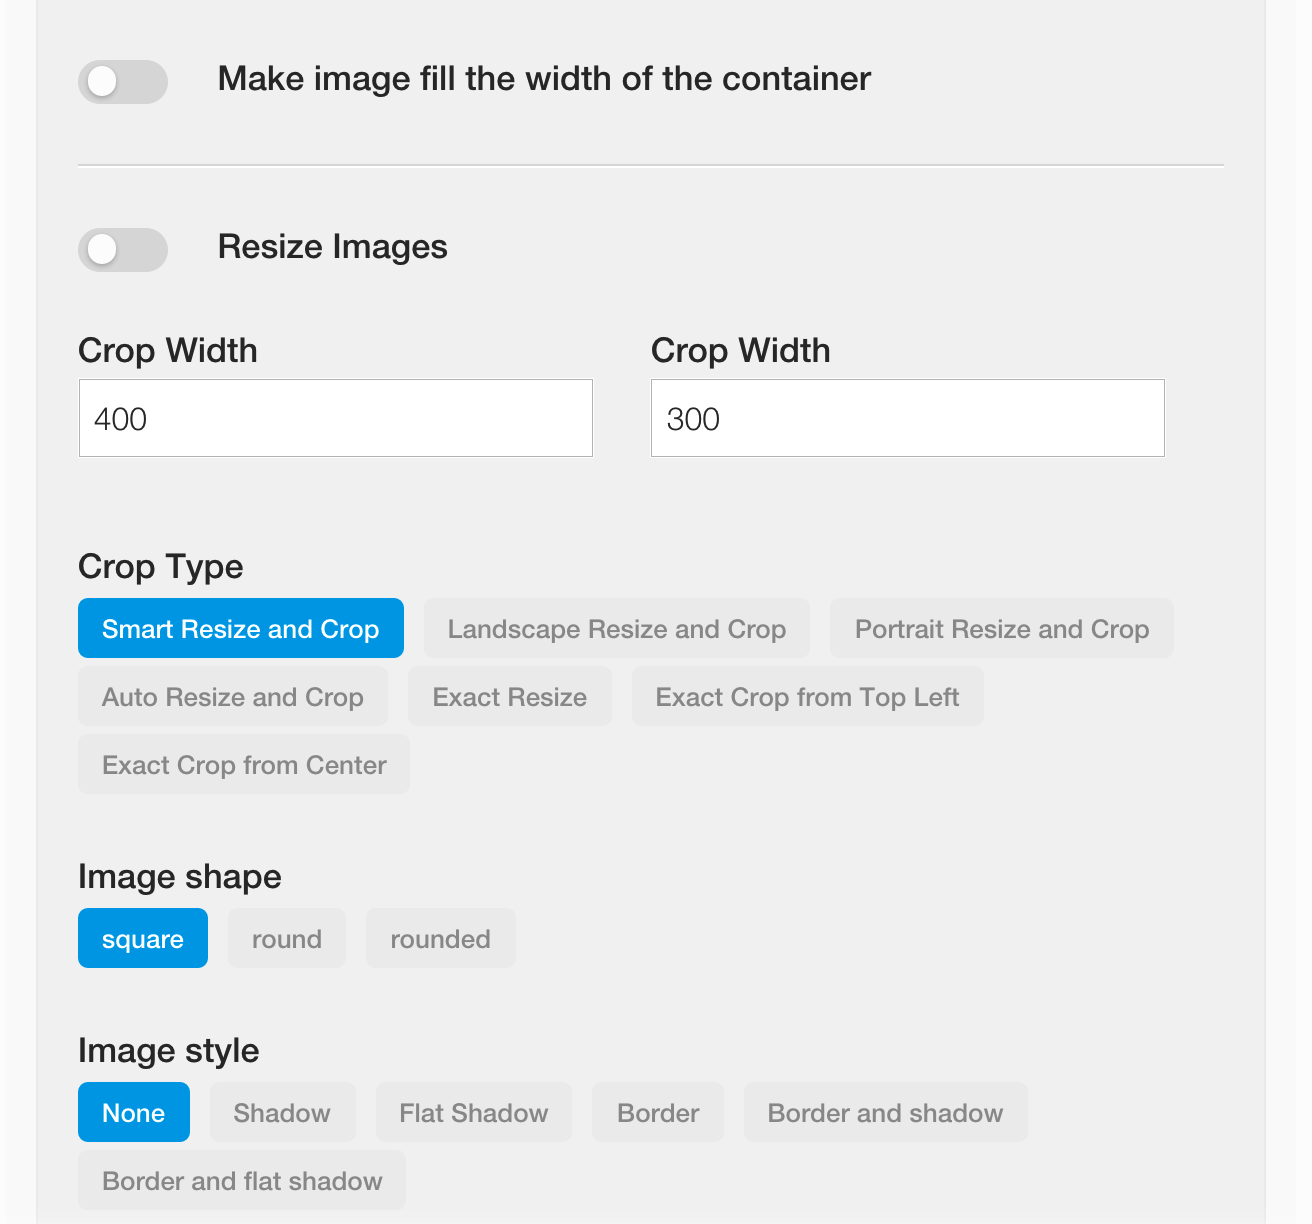
10. Adjust settings for the image element.
11. Once you have set the options for your layout elements, scroll down the page and adjust the settings for how the module displays on the page. The settings available in this setting are determined by the layout type selected in the first step.
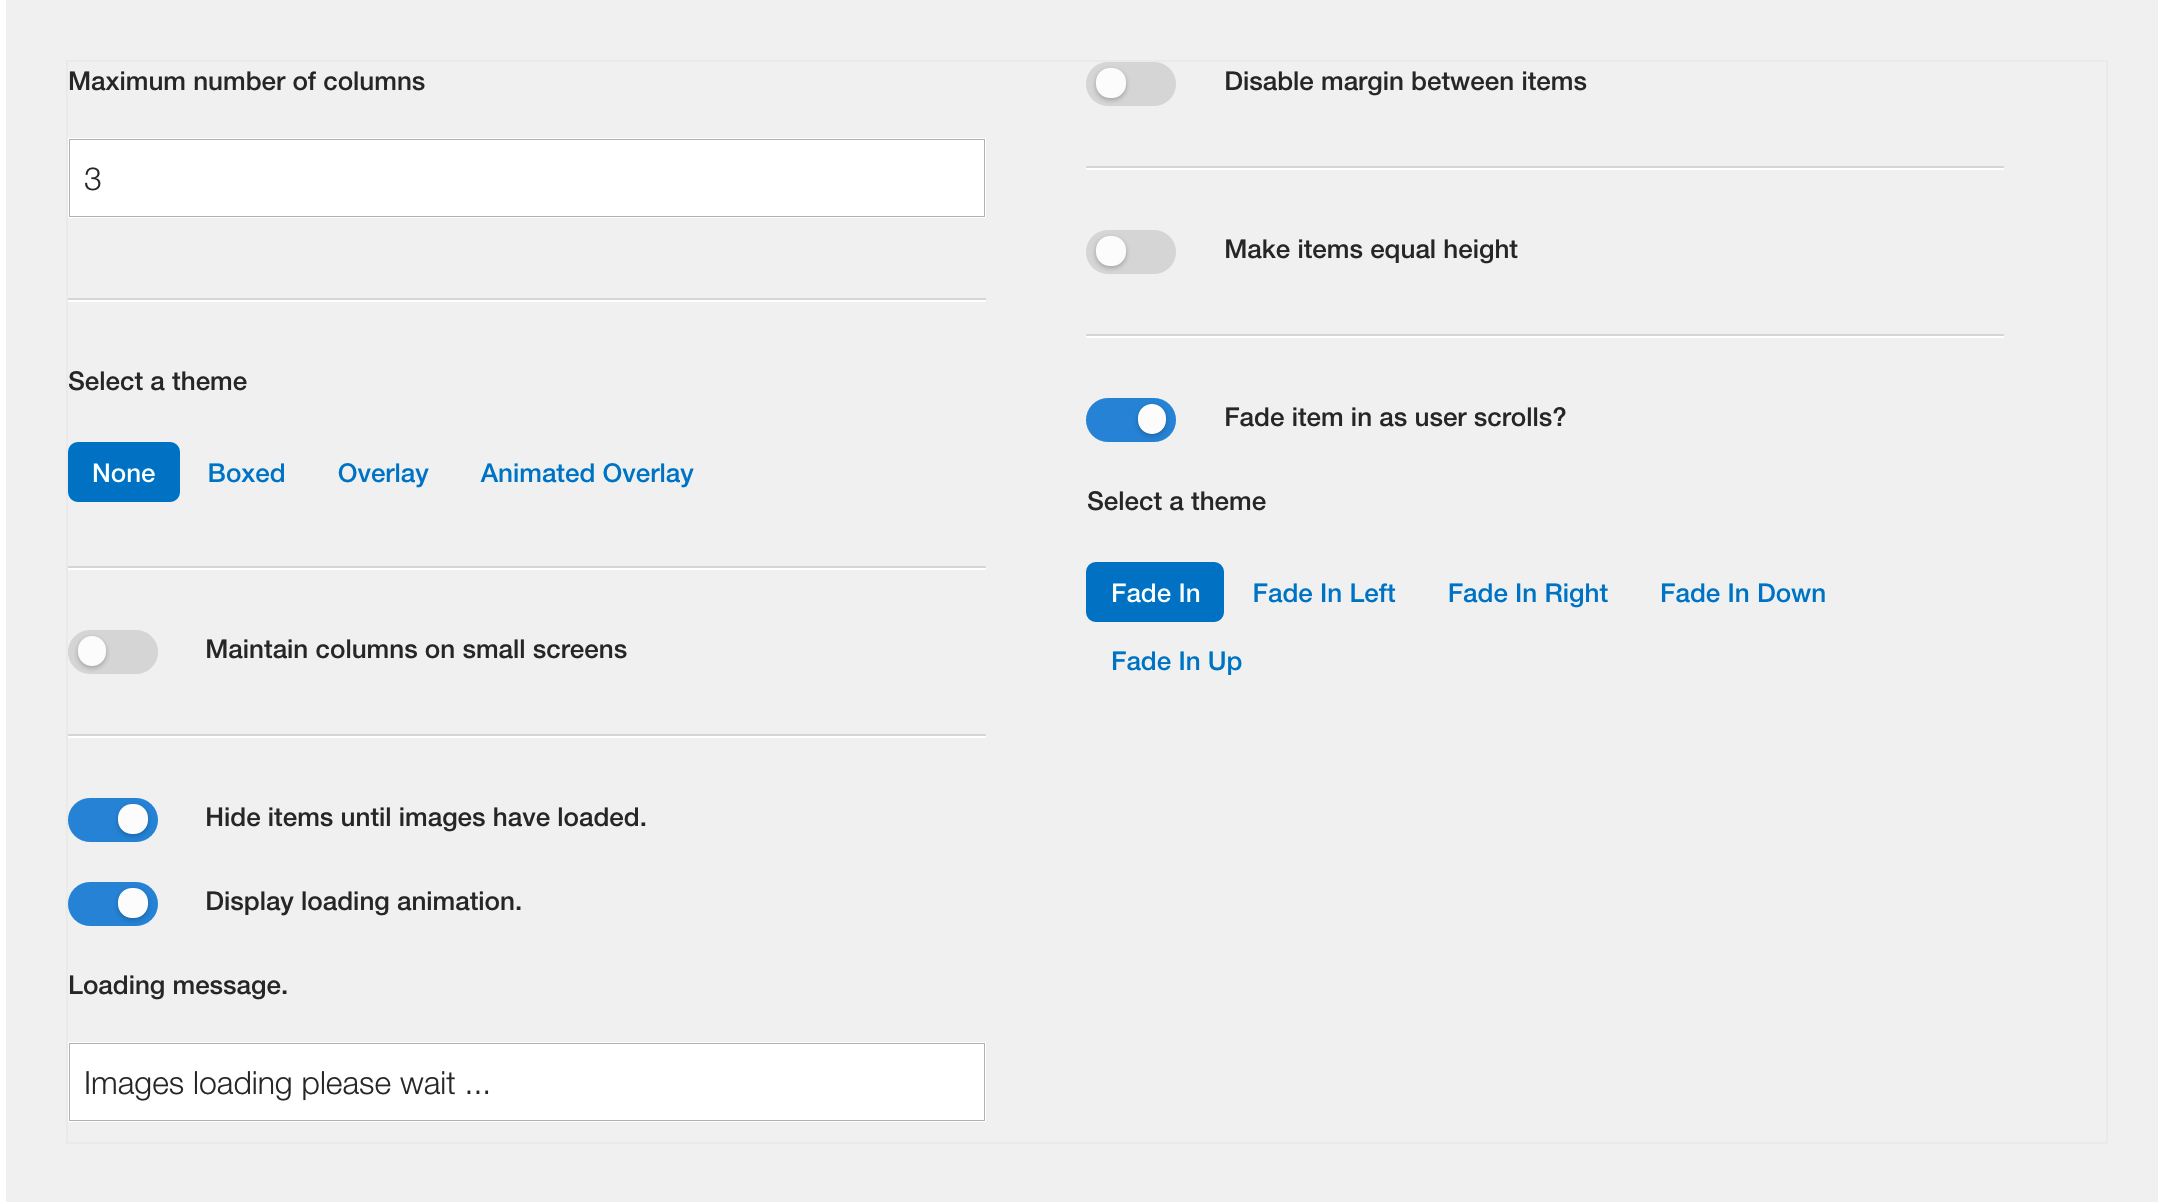
In this instance we are going to create a 3 column grid using no theme, the items will collapse on small screens, display a loading message while the images load for the module. In addition to this we will maintain the gutter between images, ensure that items are equal height by selecting the equal height option and as an added effect we will fade the items in when the items are ready for display.
At this stage we have finished setting up the various layout and display options for the module. In the next article we will determine the content used for the module.